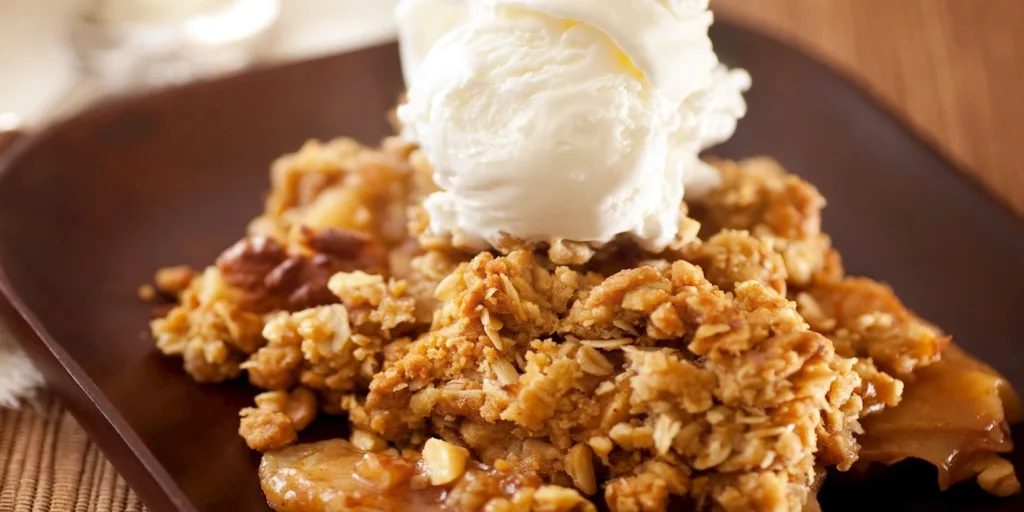
Apple crisp is a timeless dessert that’s perfect for any occasion. It’s a comforting dish featuring tender, cinnamon-spiced apples topped with a buttery, crunchy oat topping. Whether you’re hosting a dinner party or just craving a warm dessert, apple crisp is a simple and satisfying choice. In this article, we’ll guide you through making a classic apple crisp from scratch.

Ingredients of apple crisp recipe
For the Apple Filling
- 6 cups of sliced apples (about 6-7 medium apples, preferably Granny Smith or Honeycrisp)
- 1 tablespoon lemon juice (optional, to prevent browning)
- 1/2 cup granulated sugar
- 1 teaspoon ground cinnamon
- 1/4 teaspoon ground nutmeg
- 2 tablespoons all-purpose flour (to thicken the filling)
For the Crisp Topping
- 1 cup old-fashioned oats
- 1/2 cup all-purpose flour
- 1/2 cup brown sugar (light or dark)
- 1/2 teaspoon ground cinnamon
- 1/4 teaspoon salt
- 1/2 cup unsalted butter (cold, cut into small cubes)
Instructions
1: Preheat the Oven
- Preheat your oven: Set your oven to 350°F (175°C) to ensure it’s ready when you are.
2: Prepare the Apple Filling
- Peel and Slice the Apples: Peel the apples and slice them into even, thin slices. Place them in a large mixing bowl.
- Add Lemon Juice: Toss the apple slices with lemon juice to prevent browning (optional).
- Mix the Filling Ingredients: Add the granulated sugar, cinnamon, nutmeg, and flour to the apples. Toss until the apples are evenly coated.
- Transfer to Baking Dish: Pour the apple mixture into a 9×13-inch baking dish, spreading it out evenly.
3: Make the Crisp Topping
- Mix Dry Ingredients: In a medium bowl, combine the oats, flour, brown sugar, cinnamon, and salt.
- Cut in the Butter: Add the cold butter cubes to the dry mixture. Use a pastry cutter, fork, or your hands to mix until the mixture resembles coarse crumbs.
- Sprinkle Topping: Evenly sprinkle the oat mixture over the apples in the baking dish.
4: Bake the Apple Crisp
- Bake: Place the baking dish in the preheated oven. Bake for 40-45 minutes, or until the topping is golden brown and the apple filling is bubbly.
- Cool Slightly : Let the apple crisp cool for about 10 minutes before serving. This allows the filling to set a bit.
5: Serve and Enjoy
- Serving Suggestions: Serve the apple crisp warm, topped with a scoop of vanilla ice cream or a dollop of whipped cream.
Tips for the Best Apple Crisp
- Apple Variety: Granny Smith apples are tart and hold their shape well, making them ideal for crisps. Honeycrisp or a mix of different apple varieties can add more depth of flavor.
- Oats: Old-fashioned oats work best for a chewy, crisp topping. Avoid instant oats, as they can become mushy.
- Make It Ahead: You can prepare the apple crisp ahead of time and bake it just before serving. Store it in the refrigerator until ready to bake.
Conclusion
Apple crisp is a delicious and easy dessert that brings the comforting flavors of fall to your table. With its tender, spiced apple filling and crisp oat topping, it’s sure to be a hit with family and friends. Whether you’re serving it warm with ice cream or enjoying it on its own, this classic recipe is one you’ll come back to again and again.
FAQs
Can I use other fruits in this recipe?
Yes, you can substitute or add other fruits like pears, berries, or peaches to the apple filling for a different flavor.
How do I store leftover apple crisp?
Store leftover apple crisp in an airtight container in the refrigerator for up to 3 days. Reheat in the oven or microwave before serving.
Can I make apple crisp gluten-free?
Yes, you can substitute the all-purpose flour with a gluten-free flour blend in both the filling and the topping to make this recipe gluten-free.
What if I don’t have a pastry cutter for the topping?
If you don’t have a pastry cutter, you can use a fork or your fingers to blend the butter into the dry ingredients. Just be sure the butter stays cold to achieve the right crumbly texture.
Enjoy your homemade apple crisp!

3 thoughts on “Classic Apple Crisp Recipe: Easy and Delicious Dessert”